I'm going to start this week's article by saying I'm not a technical person. I stand in awe when I watch trained mechanics twirl their spanners and put their skills to use. How anyone can make changing brake lines look as difficult as putting on a hat is beyond me. Don't get me wrong; it's not because of laziness or lack of will on my part. I've tried to be more mechanically minded, but it never works out entirely as intended. For example, many years ago, I decided to give my beloved 2009 Fireblade a proper clean before winter. I thought the best and most effective way would be to remove the fairings and give everything a damn good scrubbing. Removing the fairings was simple enough; just a case of removing the vast amount of panel fasteners and then shuffling and sliding the fairings until they came away from the bike.
However, things took a turn for the worse when it came to reassembly. No matter what I tried, it seemed impossible for a standard two-armed human to get each component of the fairings to slide together at the right time, in the right way and end up in the right place. After many hours of trying everything I could to get them to slot back into place, and possibly on the verge of a nervous breakdown, I had to make the phone call. It was late on a Sunday evening when I called my friend Stuart and said, "Help me. I've pulled my bike apart and can't put it back together."
Nevertheless, despite my mechanical incompetence, I believe there are some really basic tasks that all bikers should perform on a regular basis.
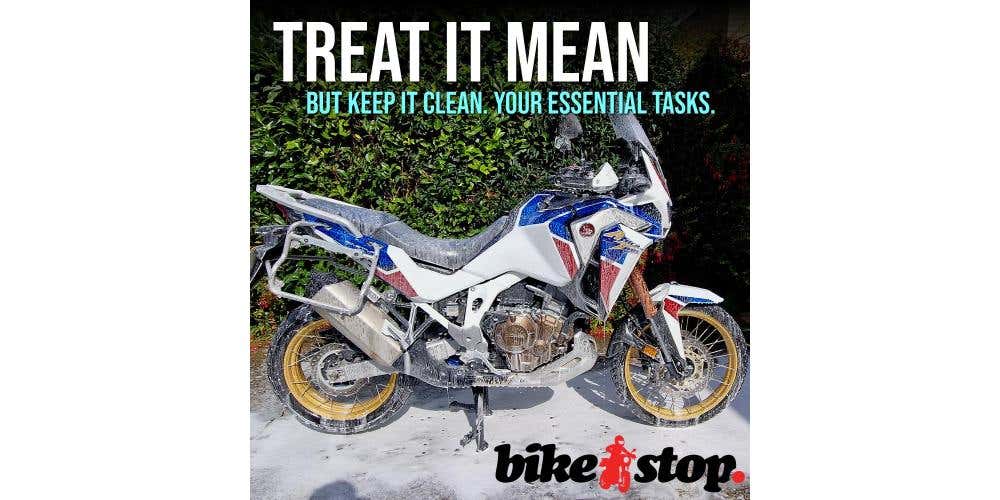
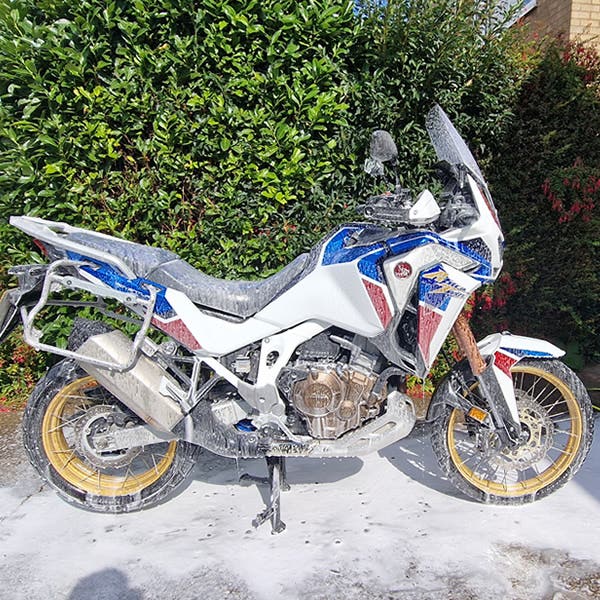
Cleaning
Baby steps, eh? Let's start with the easy stuff. Cleaning fulfils two functions. Firstly, it removes the hundreds of miles of dirt, filth, mud, goo and gunge that sticks to your bike in hard-to-reach places. Sure, you could leave it there - out of sight, out of mind - but anything acidic or alkaline could be doing things to your bike that you really don't want. This is especially true over winter when the roads are caked in salt. Bikes appreciate salt about as much as slugs and snails do, and you want to get that stuff cleaned off as soon as possible after a ride.
People will have many different ideas on the best way to clean a bike, but my preferred method is as follows:
- Pre-clean: Give the bike a good drenching with a hose or pressure washer. If you're using a pressure washer, do it from a reasonable distance, as getting too close and personal can tear off stickers or damage hoses and electronics.
- Anti-filthing: Use Muc-Off or similar cleaner and spray every inch of the bike, including all the hard-to-reach places. Leave the cleaner on the bike for 4-5 minutes and give any particularly grubby areas a light scrub to help it along.
- Rinse: Rinse off the cleaning agent with your hose or pressure washer.
- Clean: If you have a pressure washer, you can use snow foam to cover the bike. If you haven't, use a cleaning product of your choice. Use a sponge or wash mitt to get everything squeaky clean.
- Rinse: Yup, we're back to rinsing again.
- Dry: Use a chamois or series of cloths to get as much water off the bike as possible. If you're lazy, like me, invest in a Bruhl dryer (seriously, they're amazing). Once you've got the bulk of the water off the bike, you can run the engine for a couple of minutes and allow the heat to finish the job. This is also an opportunity to drink tea.
- Corrections: It's usually at this point that I realise I've missed bits. This is when I turn to my supply of Vulcanet wipes. If you've never used them before, please give them a go! They're basically like wet wipes but with the magical ability to make your bike clean and shiny.
- Tea: Drink more tea whilst admiring how clean and shiny your bike is.
Yes, it might be a bit of overkill, and your method might be (almost certainly is) different, but so long as you get all the filth and grime off the bike and leave it dry and shiny, you've achieved your objective.
If you have panniers on your bike, remove them before you start and clean them separately. Panniers have a nasty habit of accumulating grime on the inward-facing sides and are usually a great place for the horror of corrosion to set in.
Anti-corrosion
If you ride your bike over winter - and winter in biking terms is the time between the first gritter splattering the roads and the first rainfall after the last gritter has splattered the roads - you'll want to invest in some form of anti-corrosion treatment. There are many different types of anti-corrosion spray available, with perhaps the two most common being ACF-50 and XCP Rust Blocker. You can either follow the instruction and apply it yourself or take it to one of many winter biker outfits that will do the job for you, for a small fee.
If you've ever tried to remove corrosion from nuts, bolts, fittings and fixtures, you'll know that an anti-corrosion treatment is worth every penny.

Chain Maintenance
It's the job we love to hate. It's also an important one. As you use your bike, grit, dirt and other unpleasantness will stick to your chain and form an abrasive paste, which will do its best to wear down your chain and sprockets. You need your drivetrain to be as slick and as smooth as possible for the efficient transfer of power, and that's not going to happen if your sprockets look like cheap biscuits and your chain has all the flexibility of an iron girder.
It's easiest to clean and lube your chain when you've completed a ride. This way, your chain is warm and will more readily accept cleaning and lubrication.
- Lift: Get your rear wheel off the ground. The easiest method is to use the centre stand. You can use a paddock stand if you don't have a centre stand. If you don't have a centre stand or a paddock stand, you're going to be wheeling your bike up and down your driveway, cleaning small sections of the chain at a time. Get a stand.
- Clean: With the rear wheel lifted, slowly rotate the rear wheel whilst spraying your chain with a suitable chain cleaner or degreaser. Use a small brush to agitate the cleaner and get your chain looking as clean and shiny as possible. A toothbrush is pretty good for this task, but remember not to use it on your teeth afterwards.
NB: Don't, ever, under any circumstances, attempt to do this with your bike running in first gear. The amount of people who have lost fingers and thumbs thinking they'll save time is absolutely bonkers. Don't do it, ok? You're better than that. - Dry: Use a cloth dry the chain of any remaining cleaner. If you attempt to lubricate the chain whilst it's still covered in degreaser, the lube won't bind to the chain. It'd be like trying to staple jelly to a wall.
- Lube: Liberally coat your chain with your favourite lube. Motul and Wurth both make great lubes. Use an old newspaper (or a piece of card, or Sadé's Diamond Life album) behind a section of chain to catch the excess spray.
- Tea: Drink tea for 5 minutes and allow the lube to work its way into the chain and penetrate the o-rings. Be patient.
- Excess: Use a paper towel (or an old Sadé t-shirt) to wipe off the excess lube from the chain. If you don't clean the excess, you'll go for a ride, and the chain will fling its goo all over your leg, rear wheel and everything else within its sticky reach.
Adjustment
Before cleaning and lubricating your chain, you'll want to make sure that it's adjusted properly. This is to make sure the chain isn't too slack or too tight. A chain that's too tight may break if it's subjected to a sharp shock like riding over a speedbump at 70mph. A chain that's too slack risks jumping off the sprockets. Neither of the scenarios is great. Depending on which bike you have, there are many different methods to adjust your chain. Your best bet is to consult your owner's manual, which will contain a full guide on how to adjust it and show you the correct amount of slack your chain should have.


Tyres tread and pressures
I probably don't need to say this, but I'm going to: your tyres are your bike's only contact with the road. Yeah, ok, that's not true if you've got your knee down, elbow down or have crashed, but let's stick with the initial premise.
If your tyres are over- or under-inflated, at best, you'll be knackering your tyres, and at worst, you'll end up sitting in a hedge with your bike 100 metres down the road wondering what happened. Check your pressures regularly. Your bike's owner's manual will contain information on the correct pressures, and you may also find that same information on a sticker on your swingarm if you're lucky.
- Cold: Before you start, make sure your tyres are cold. Pressures will increase with heat, so your readings won't be accurate if you're measuring your pressures after a spirited ride or having just taken part in the TT.
- Stem: Roll your bike backwards or forwards until the valve stem is in a handy position. Usually best if it's at the position when it's closest to the ground, as that's typically where you'll have the best access. After removing the valve cap, ensure there's no grit or dirt in the cap or the valve, as you don't want the valve stem to be pushed in when you replace the cap.
- Measure: Use a tyre pressure gauge to take your cold pressure reading. Always use the same gauge. If you're doing this using a service station's tyre inflator, it's probably best to ignore their gauge and use your own, as they tend to tell more lies than a recent Prime Minister.
- Inflate: Assuming your gauge is reporting that you need some air, you'll need to add some. Depending on how hard or easy you want your life to be, you can use anything from a bicycle pump to a dedicated inflator. Remember to check the pressures at regular intervals and, if you go over, simply depress the valve stem to let a little air out.
- Tea: When your tyre pressures are correct, consume tea. You've earned it.
Tread
Checking your tread is just as important as checking your pressures. You'll want to make sure that you have plenty of tread down the centre of the tyre and at the shoulders. If like me, you primarily ride on the roads, you'll most like be using up more of the centre of the tyre as this is the bit most frequently in contact with the road.
The legal requirement is that you have a minimum of 1mm of tread across three-quarters of the tread pattern and with visible tread remaining on the other quarter. If your tyre looks like Jeff Bezos's head and you're not about to start a MotoGP race, you're going to need a new tyre.
If you notice particularly uneven wear, you may want to consider checking your tyre pressures again.
The other thing to check whilst examining your tread is whether or not there's anything unpleasant stuck in your tyre. The amount of times I've performed a tread check and discovered something horrendous embedded in the tyre is quite surprising. If you're lucky, you can pluck out the offending item with a pair of needle-nosed pliers without your tyre collapsing like a badly-made soufflé. If you do suffer a violent escape of air after removing the object, be grateful that it didn't happen when you were miles away from civilisation.


You may ride your bike now
So there we have it, a simple list of things you should stay on top of. I haven't suggested you need to sit in your garage rebuilding your engine or replace your gearbox. These are simple tasks that anyone can perform with a small selection of cheap tools, and stuff we all need to keep on top of. So go forth, enjoy your ride, clock up those miles, and when you get back you can do it all again. Have fun!